How to transform tired timber boards with rich, even colour
Thinking about giving your timber floors a richer, deeper tone without replacing a single board? You’re in the right place. In this step-by-step guide, I’ll take you through every stage of the journey—from the first conversation about colour to the final buff and long-term care—so you know exactly what to expect, what can go wrong, and how professionals avoid the pitfalls. Whether your home features Victorian pine boards, oak parquet, or a modern engineered floor, the core principles remain the same: meticulous preparation, controlled application, and patient finishing. If you’re considering staining wood floors, the difference between “nice” and “wow” lives in the details you’re about to read.
1) Begin with design, not with a tin of stain
Most successful projects start with a conversation about design rather than products. Stain isn’t simply “brown” or “grey”; it’s tone (warm, cool, neutral), darkness (light fume to near-ebony), and character (even, layered, reactive). A good brief covers:
- Architectural context: light levels, room aspect, and fixed features like fireplace surrounds or kitchen cabinetry.
- Species and grade: oak offers open grain and takes pigment boldly; pine is softer and can blotch if rushed; maple is notoriously even-grained and often prefers dyes or tinted sealers over heavy pigment.
- Lifestyle factors: pets, children, and traffic dictate not only the stain but the protective system on top.
A designer’s moodboard or a handful of inspiration photos is useful, but samples on your actual timber are indispensable. Every board is its own canvas.
2) Inspect the floor: what the timber is telling you
Before a sander is even plugged in, a professional will examine:
- Flatness and movement: springy boards, cupping, or crowning can telegraph through a stain, amplifying flaws.
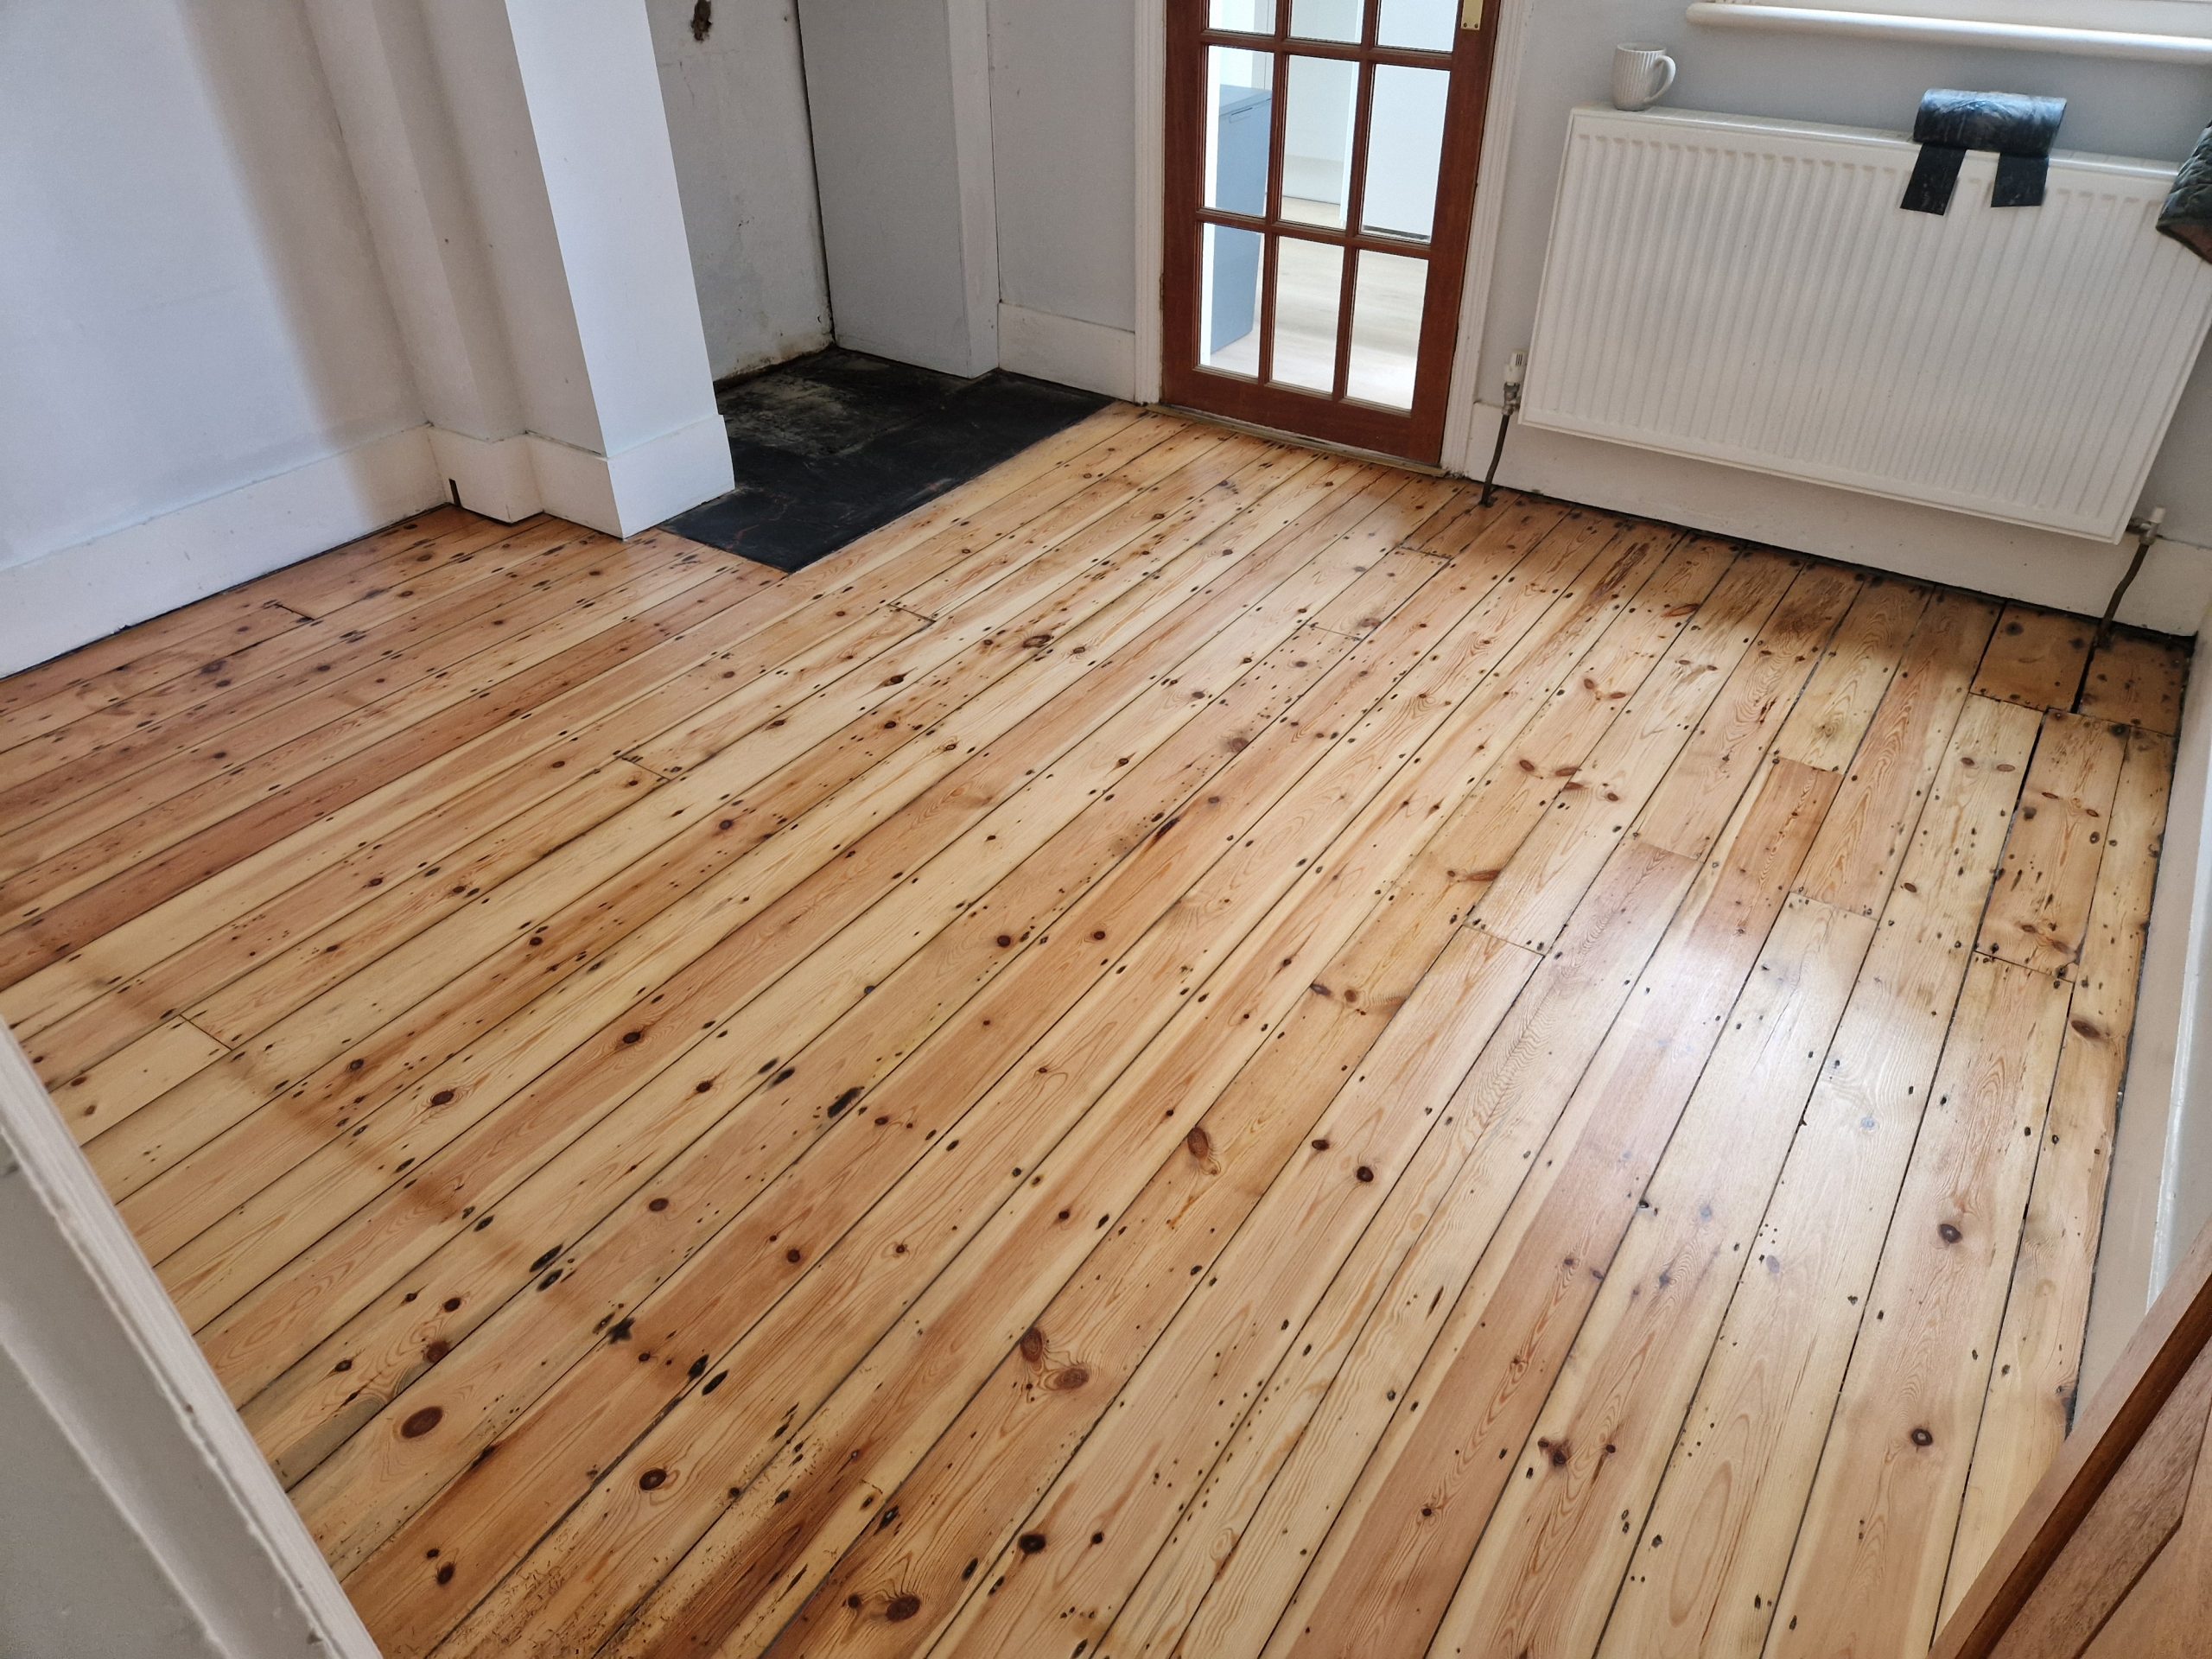
- Repairs required: split tongues, missing blocks, micro-gaps, and proud nails.
- Previous coatings: wax, shellac, or old oil residues affect how stains wet the timber and can cause adhesion problems for modern finishes.
- Moisture content: a meter reading ensures the timber is within the safe range; overly dry floors can drink stain aggressively, while damp floors risk finish failure.
Decision made, issues noted, and a plan agreed—now the hard work starts.
3) Repairs, gap filling, and prepping for a flawless canvas
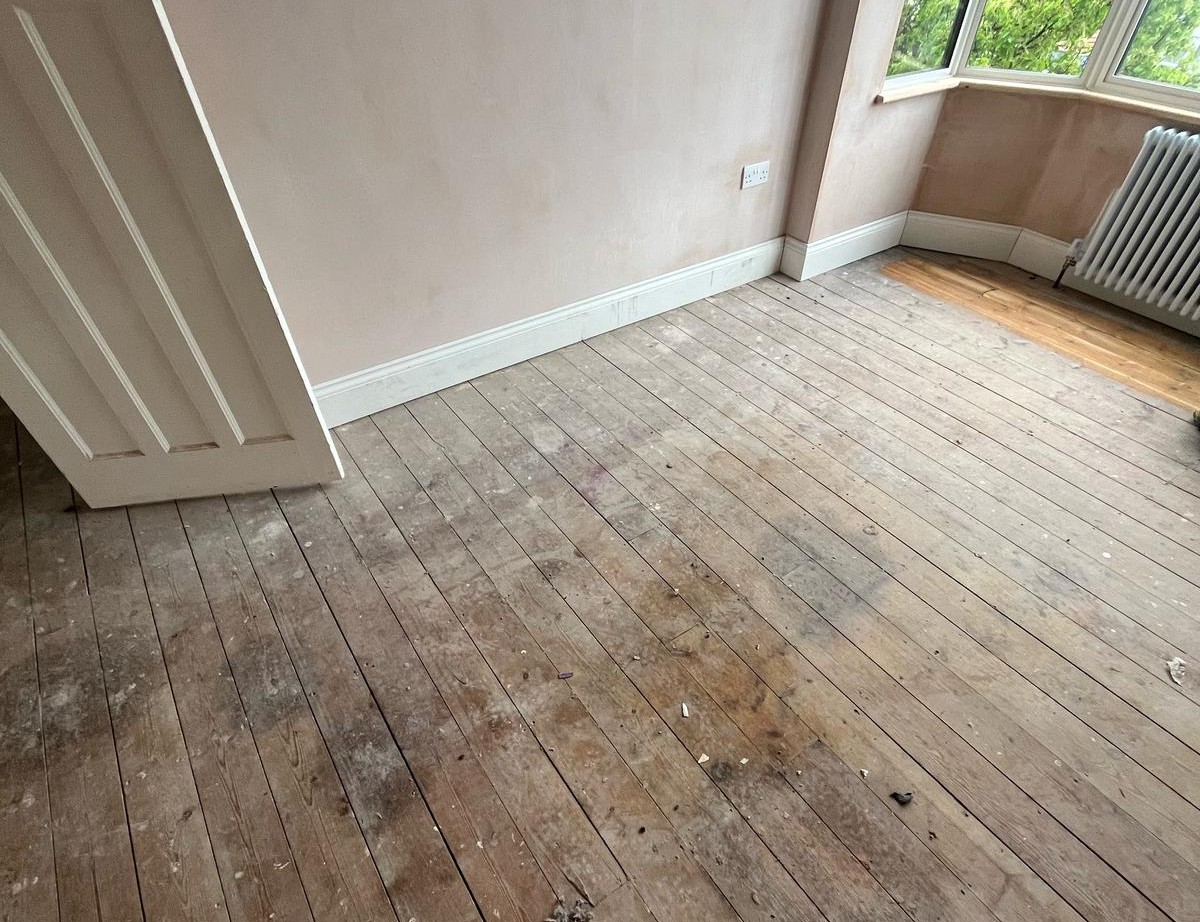
The stain will highlight the beauty of the timber—but it can also spotlight sloppy prep. Professionals typically:
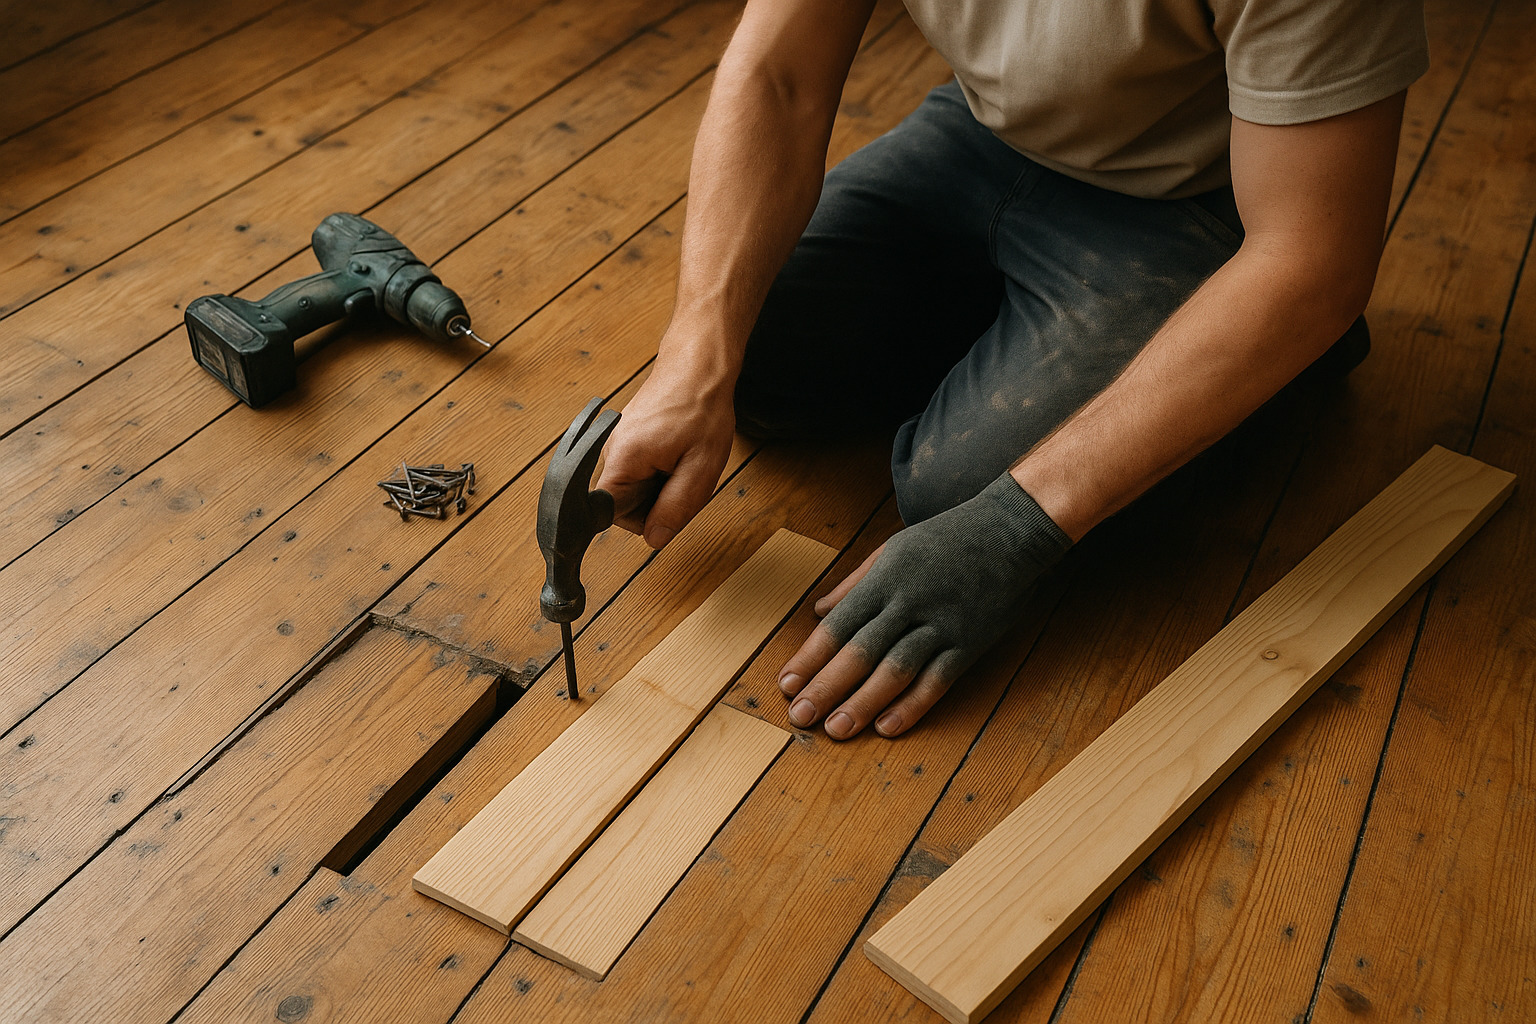
- Punch and secure fixings: nails are sunk just below the surface to protect sanding belts and avoid black rings.
- Stabilise loose boards and blocks: glue injection, screws from beneath, or replacement where necessary.
- Choose the right filler: resin-based fillers mixed with fine sanding dust match the surrounding timber; for larger voids in pine, slivers (thin wood strips) provide a more stable, sympathetic fill than soft putty.
- Clean thoroughly: remnants of bitumen, carpet adhesive, or old polish get stripped, not sanded into the grain.
Only then does sanding begin—because stain needs a perfect surface.
4) Sanding: the sequence that sets up the colour
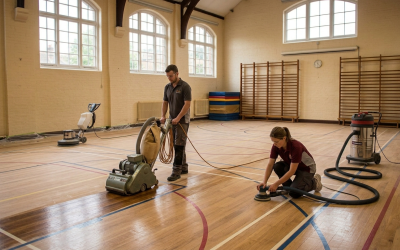
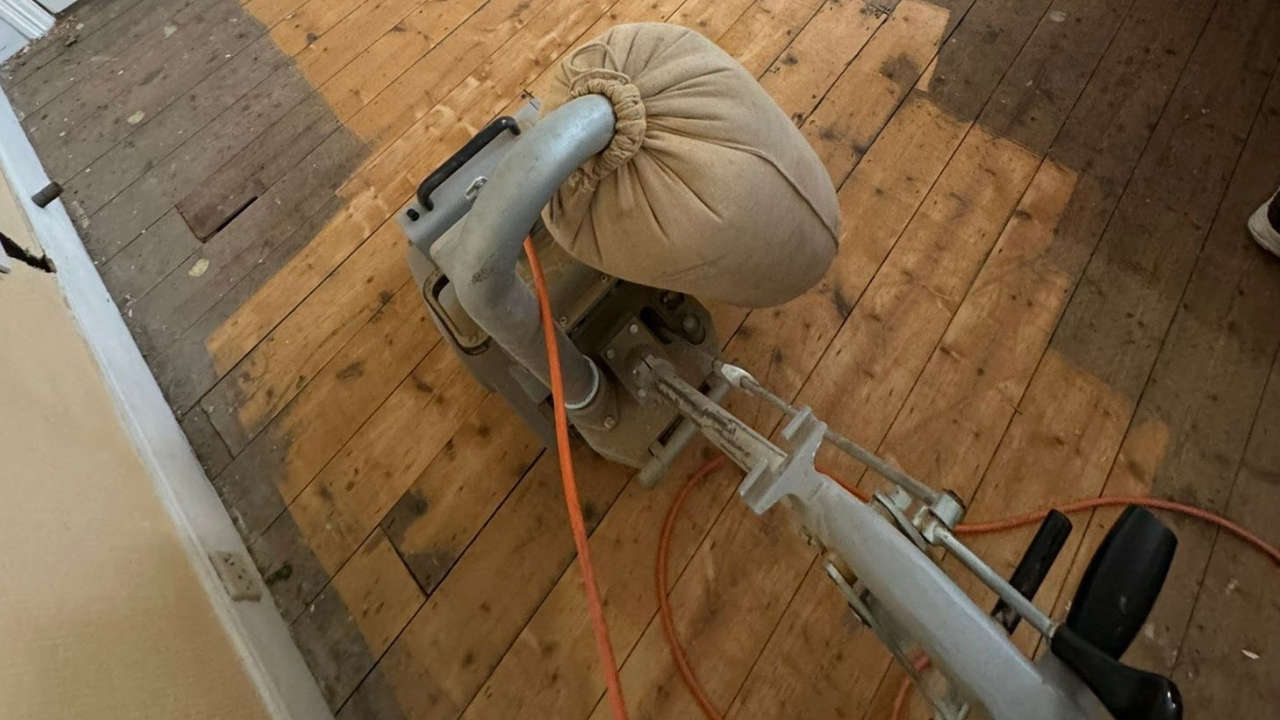
Sanding does two jobs: flatten the surface and refine the scratch pattern so stain absorbs evenly. A typical sequence goes something like:
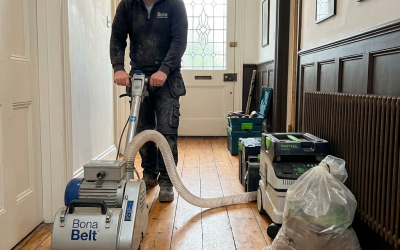
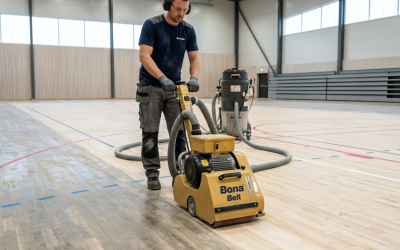
- Heavy cut: a belt sander starts at 36–40 grit to remove coatings and flatten.
- Refine: passes at 60 and 80 (and sometimes 100) remove the previous scratches.
- Edges and corners: an edger matches the main field; corners and under radiators are hand-scraped or detailed with a multi-tool.
- Multi-head finishing: a planetary or trio sander blends the field and edges to a uniform scratch profile.
The golden rule? Every grit removes the scratches of the previous grit—no skipping. Missed swirls or cross-grain scratches are invisible pre-stain and painfully visible post-stain.
5) Dust control and a pristine, neutral surface
Pigment plus dust equals mud. That’s why contractors use modern extraction and follow with:
- Vacuuming the entire space (walls and skirtings included).
- Tack-clothing to lift remaining fines.
- Solvent quick-wipe (where appropriate) to reveal any contamination or smear.
A clean, neutral surface ensures the stain wets the timber, not the debris sitting on it.
6) Water-popping: opening the grain for depth (when it helps)
Water-popping—lightly moistening the sanded timber with clean water—swells the surface fibres and opens the grain. Benefits include:
- Richer, deeper colour without over-loading pigment.
- More even absorption on thirsty or uneven species.
- Slightly longer open time for blending.
Executed correctly, the floor is misted and allowed to dry uniformly before stain is applied. Executed poorly, it leads to lap lines and patchiness. As ever: test first.
7) Choosing the right colouring system
“Stain” is an umbrella term. Several routes can achieve a colour shift:
- Traditional oil-based stains: long open time, strong penetration, classic warmth; longer drying and potential solvent odour.
- Water-based stains and dyes: lower odour, faster dry, cooler tones, and bright modern neutrals; demand brisk, even application.
- Reactive stains/fuming: work chemically with tannins (oak darkens beautifully); require experience and accurate neutralising.
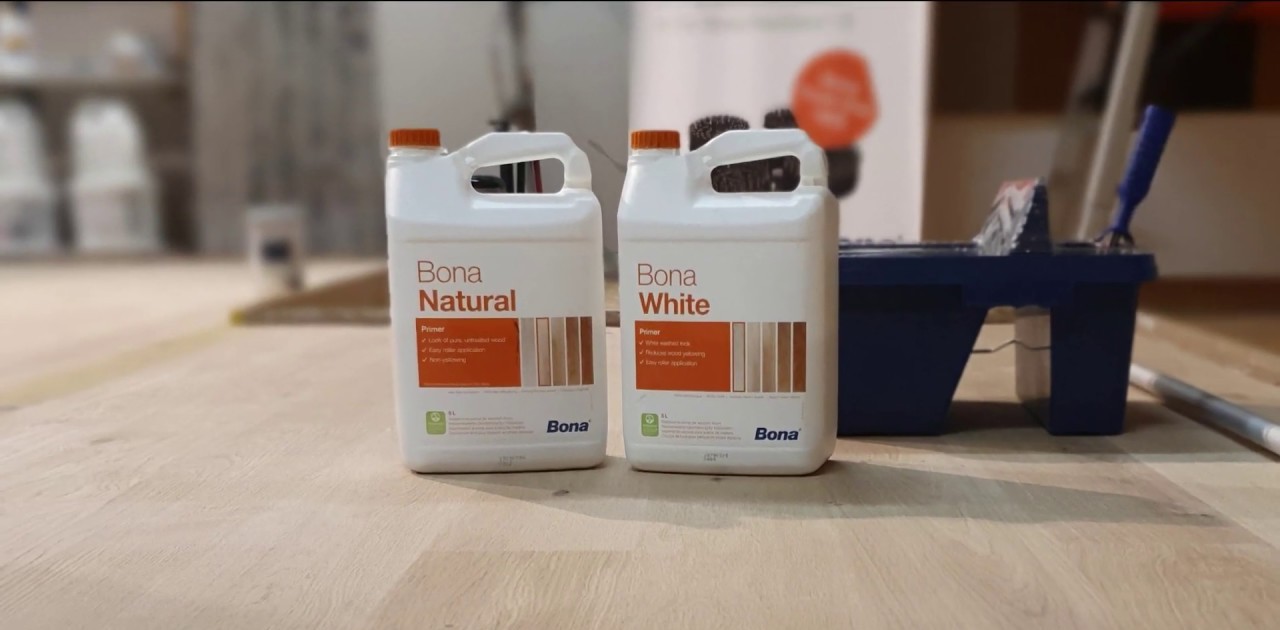
- Tinted sealers or primers: subtle, controllable shifts baked into the first coat of finish—great for even species like maple or beech.
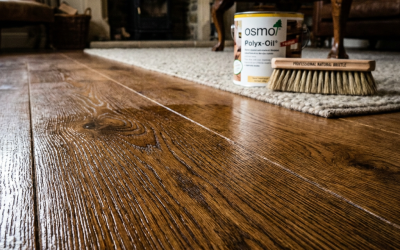
- Hardwax-oil tints: colour and protection in one system; often need two or three coats for uniformity.
Compatibility with the intended topcoat is non-negotiable. If in doubt, stay within a single manufacturer’s system from colour to finish.
8) Sampling and approvals: prove it before you commit
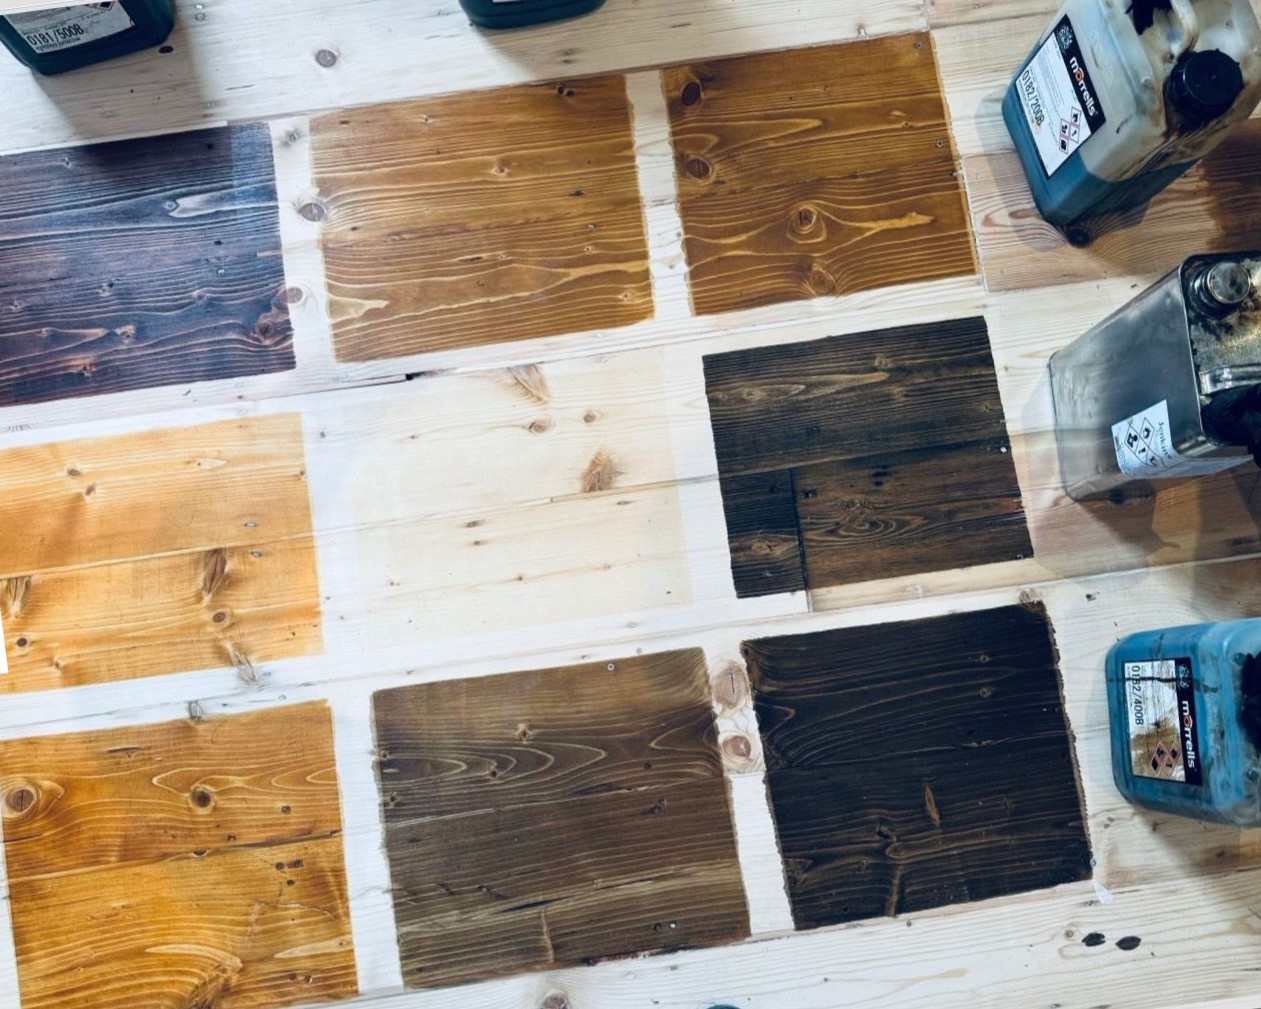
Even if you love a colour card, insist on on-floor samples. Best practice is to:
- Prepare a discrete area to the exact sanding sequence you’ll use.
- Apply two or three candidate colours, including your first choice and a wildcard.
- View them across a full day’s light cycle—morning, afternoon, evening.
- Photograph with room lighting on and off; colours shift under warm LEDs versus daylight.
When staining wood floors, this small rehearsal protects you from surprises later and helps align everyone’s expectations.
9) Application methods: even colour without lap lines
Different systems call for different tools, but the goals are identical: consistent wetting, controlled removal of excess, and invisible joins.
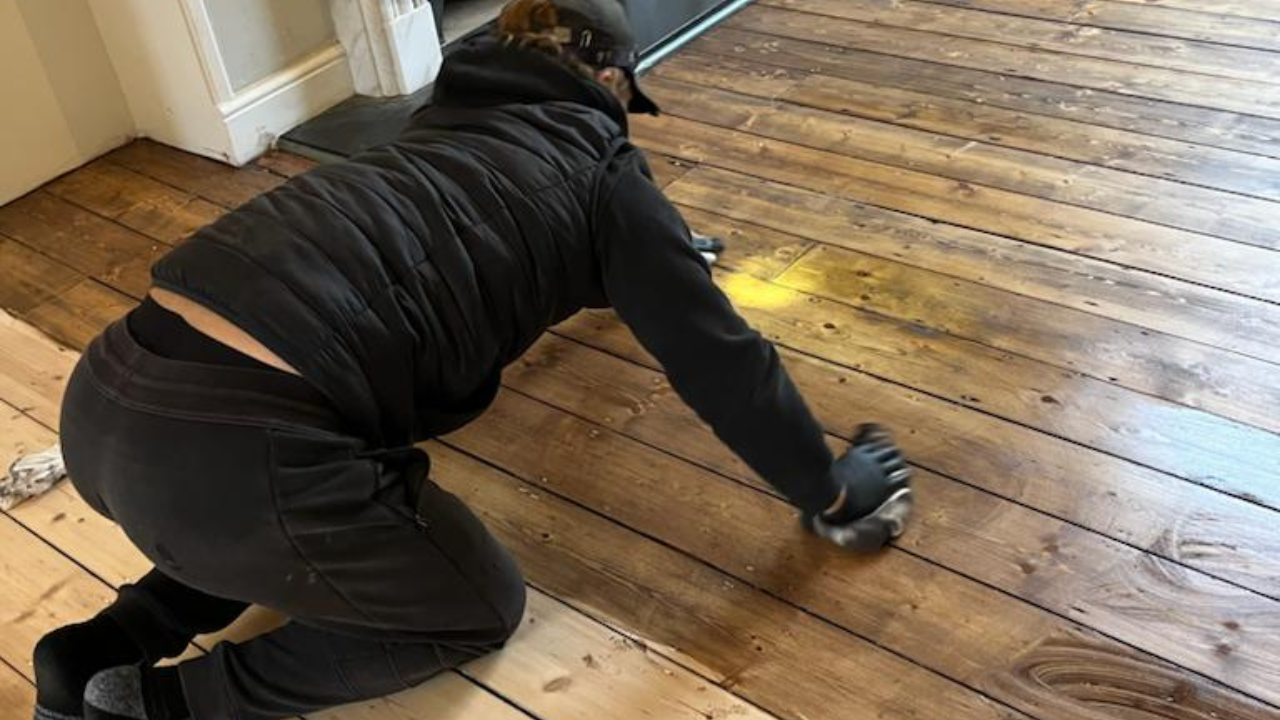
- Rag-on, rag-off: classic for oil stains—flood a manageable area, work the stain into the grain, then wipe uniformly along the boards.
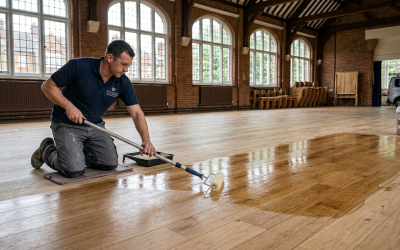
- T-bar and pads: brilliant for large rooms with water-based stains; keep a wet edge and feather lightly into the next section.
- Buffer application: for expansive spaces, a low-speed buffer with a white pad spreads stain quickly and evenly, minimising overlaps.
- Cut-in first, then field: edges and around obstructions are coloured first, then the main area is brought to meet them while both are still wet.
Work in logical sections (e.g., along window walls) and plan your exit. Professionals staining wood floors watch the light and move with it so laps aren’t highlighted by strong raking sun.
10) Drying times, ventilation, and the patience dividend
Rushing the next step is the surest route to fingerprints, shoe prints, and uneven sheen. Respect:
- Manufacturer cure times: “dry to touch” is not “ready to seal”.
- Room conditions: 18–22°C and moderate humidity are friendly; cold, damp, or stuffy rooms are not.
- Air movement: gentle cross-ventilation helps, but avoid strong draughts that dry one area faster than another.
If a stain allows, a light, cautious buff with an ultra-fine pad after full dry can level grain and prepare for sealer—but only if the system specifically permits it.
11) Lock it in: sealing and topcoats
Colour is fragile until it’s protected. Once fully dry:
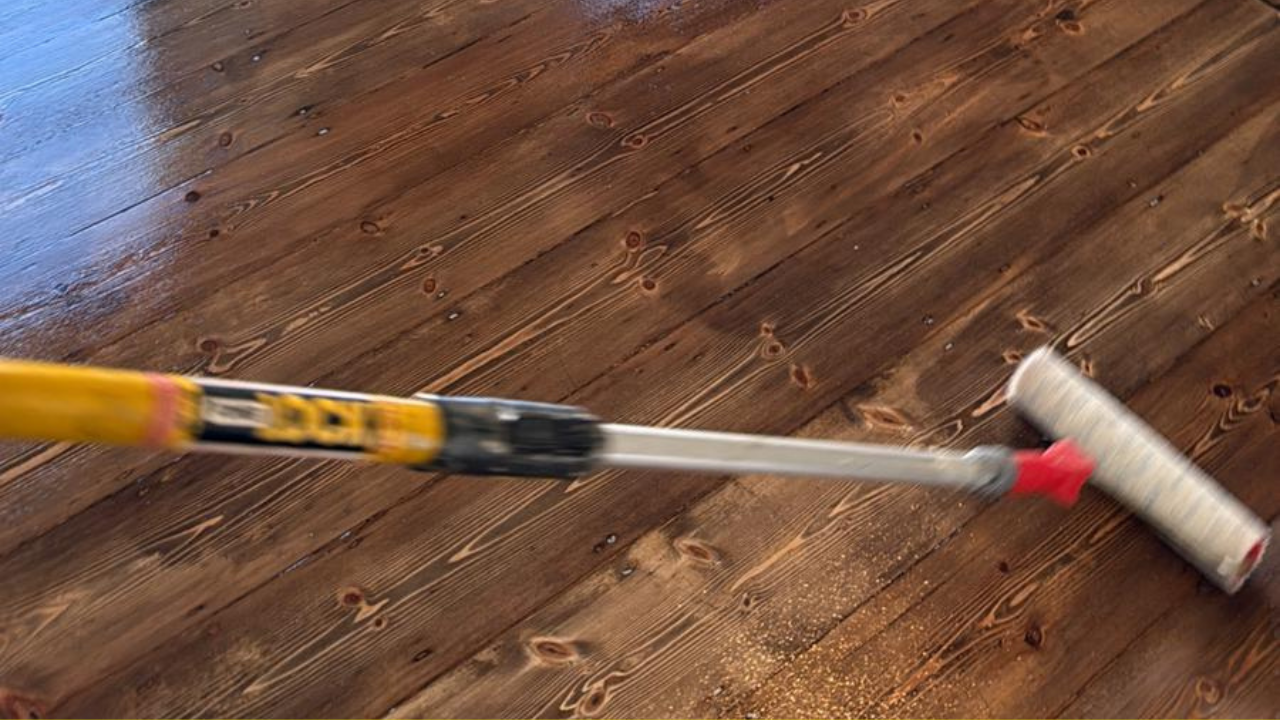
- Sealer/first coat: a dedicated sealer compatible with your stain prevents colour pull. Water-based finishes are popular for clarity and low odour; solvent lacquers remain favoured for certain commercial contexts; hardwax oils offer a tactile, natural feel.
- Inter-coat abrasion: once the sealer has cured, a fine screen (120–150) levels nibs without cutting through colour.
- Build coats: typically one or two further coats of lacquer, or additional hardwax oil layers, deliver durability and your chosen sheen (ultra-matt to satin or gloss).
A common mistake after staining wood floors is applying a sealer too aggressively, which can re-wet and lift pigment. The remedy is simple: use the recommended applicator, lay it on evenly, and keep the tool as light-handed as the product guidance dictates.
12) Quality control: how professionals judge the result
Before the final sign-off, a thorough QC pass looks for:
- Uniformity of tone: no pale “holidays” near skirtings or dark puddles in the field.
- Blend lines: invisible transitions where sections met.
- Edge-to-field harmony: no halo where the edger met the main sander.
- Sheen consistency: the topcoat should look even from all angles.
- Tactile smoothness: a gentle hand sweep tells you more than a quick glance.
If a flaw is small, an experienced finisher may blend and re-seal locally. Larger issues may require a controlled resand of the affected area and a careful re-stain.
13) Common pitfalls (and how to dodge them)
- Blotchiness on softwoods: mitigate with water-popping, pre-conditioners compatible with your system, and disciplined sanding.
- Lap lines: work to natural breaks (thresholds, board runs), keep a wet edge, and watch the light.
- Contamination: silicone polishes and old wax can cause fish-eyes; deep clean and use barrier sealers if necessary.
- Colour mismatch across repairs: replace damaged boards with the same species and orient grain correctly; sample your stain on the replacement timber first.
- Tannin reactions: reactive stains on high-tannin species like oak must be neutralised as specified, or the colour will drift.
Knowing these ahead of time saves both schedule and sanity.
14) The aftercare plan: protecting the colour you’ve earned
The first weeks after staining wood floors are critical. Respect cure times before replacing rugs or heavy furniture. Then, build habits that preserve the finish:
- Cleaning: vacuum with a soft brush and damp-mop with a pH-neutral wood floor cleaner—no steam mops, ever.
- Furniture protection: felt pads on everything that moves; lift rather than drag.
- Door mats: coarse outside, absorbent inside. Grit is the enemy.
- Humidity discipline: aim for 40–60% RH to reduce seasonal gaps and checks.
- Sunlight management: UV can warm or yellow some coatings; rotate rugs and consider blinds where daylight is fierce.
For oiled systems, plan a periodic maintenance oil to refresh the surface. For lacquered systems, keep an eye on high-traffic lanes; a light abrade and additional coat before you break through is far cheaper than a full resand later.

15) Timelines and expectations: how long does it all take?
Every project is different, but a typical two-room, medium-size project might run:
- Day 1: Repairs, heavy sanding, and refinement; deep clean.
- Day 2: Water-pop (if used) and colour application; controlled dry.
- Day 3: Sealer coat; dry and light de-nib.
- Day 4: Final coats; staged re-entry for socks-only foot traffic.
- Day 5–7: Careful furniture replacement; rugs last. Full cure varies by system (often 7–10 days for light use, up to 14–21 for maximum hardness).
Add buffers for complex layouts, herringbone, stair treads, or humid weather. Quality trumps speed.
16) Frequently asked questions
Will stain hide repairs and patches?
Colour can soften contrasts, but it won’t make a mismatched board vanish. The best disguise is thoughtful timber selection and grain alignment before you even open the tin.
Is there a ‘no-smell’ option?
Water-based colour systems and hardwax oils are lower odour than traditional solvent stains. There will still be a mild scent during application and early cure; good ventilation is key.
Can I have a very dark floor and minimal maintenance?
Darker colours show dust and micro-scratches more readily. If you love espresso tones, budget for a top-tier protective system and be religious about mats, pads, and gentle cleaners.
What about underfloor heating?
UFH changes moisture dynamics. Keep temperatures moderate, stabilise humidity, and choose finishes approved for warm substrates. Avoid sudden heat changes during cure.
Must I remove skirting boards?
Not always. Skilled cut-in and careful sanding let you keep them in place. That said, if you plan to replace skirtings anyway, doing so after finishing prevents accidental scuffs.
Can I spot-repair a stained area?
Small scuffs in oiled systems are often blendable. Lacquered systems are trickier; local colour correction followed by careful re-sealing can work, but seamless results are not guaranteed.
17) Why professional technique matters
On paper, staining is simple: sand, colour, seal. In practice, each stage contains dozens of micro-decisions—grit choices for a particular pine’s latewood, how long to leave a water-pop before it turns from helpful to harmful, when to switch from rag to T-bar because of a sudden temperature rise. The best finishers are part craftsperson, part scientist, part weather forecaster. Their discipline shows up in the evening sun when the colour reads as one continuous tone from skirting to skirting.
18) Cost, value, and making a smart brief
Budget depends on area, layout, timber condition, and the system selected. Darker or reactive colours with additional seal steps cost more than a light tint. But judged over years of use, a well-planned project is exceptional value: it elevates the room, protects the timber, and delays the need for invasive work.
To get accurate quotes, provide:
- Room measurements, photos, and notes on previous coatings.
- Any known issues (loose boards, squeaks, pet stains).
- Your style preferences (cool modern grey, warm honey, near-black, etc.).
- Practical constraints (booking dates, pets in the home, odour sensitivity).
Clarity upfront equals fewer surprises later.
19) A quick troubleshooting cheat-sheet
- Uneven darkness between boards: Check sanding uniformity and water-pop consistency; adjust application speed.
- Patchy sheen after sealing: Not fully dry before topcoat, or uneven film thickness; allow full cure and apply a levelling coat.
- Grain raised and rough feel: Typical with water-based systems; a sanctioned de-nib grit restores smoothness before the next coat.
- Persistent ‘clouds’ in sunlight: Might be fine swirl marks telegraphed by the stain; requires a controlled resand of the affected zone.
Keep notes; today’s learning makes tomorrow’s project better.
20) Bringing it all together
Colouring timber is as much about restraint as it is about boldness. The beauty you admire on design feeds—those deep, espresso oaks and cool, coastal neutrals—comes from planning, patience, and respectful chemistry. Choose a system that fits your home and habits, insist on on-floor samples, and treat every prep step as though it’s already the finished floor.
Ready to start staining wood floors? With a clear brief and the right technique, you’ll end up with a floor that doesn’t just look new—it looks intentionally, beautifully yours.